# Intervals
Using the intervals, you can easily vary the value of a field based on other fields.
To start, add a new interval, then pick the target field. Let's say we want to vary the value of the price_m2 field which is a price field by the area field

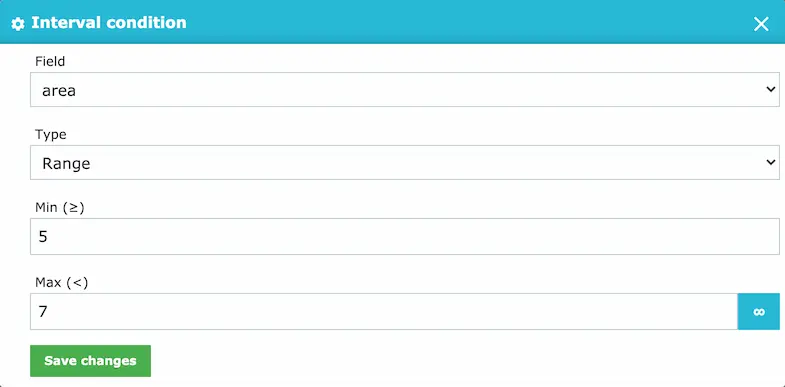
The intervals that we used are 0 → 3, 3 → 5, 5 → 7, 7 → ∞.
This symbol ∞ signifies infinity which means, when area is 7 or greater.
To add intervals, click the plus sign in the top right corner, the module will add a new interval automatically.
To edit it, click it, then this popup will be displayed

TIP
You can set the Max value to infinity by clicking the infinity button on the right side of the input.
# Interval conditions
Each interval, can have more than one condition if needed, you can add other conditions by clicking the add button that is inside the interval.

# Target fields
You can also target multiple fields

TIP
You can also have multiple intervals in one product
# Values
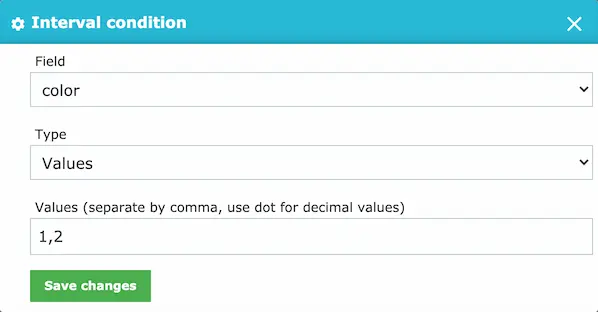
In the interval condition, you can pick the type Interval as well as the type Values.
The type Values allows you to use discrete values in your conditions.
As example, let's say we have 3 colors with value 1, 2 and 3 and we want the price to be 20% more expensive
when the 3rd color is selected
Here's how to do it

This is how to configure the condition using Values

TIP
The Values must be separated by commas and without spaces
TIP
String values are also supported. This is useful when you have a dropdown field with string values instead of numbers.

← Proportions Grids →