# Fields
In this tab, you can add and configure module fields
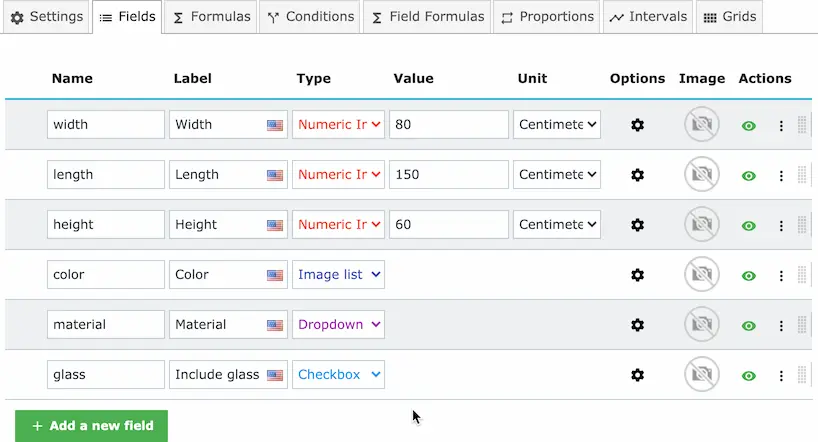
Start by adding a new field then you can change its properties directly in the list

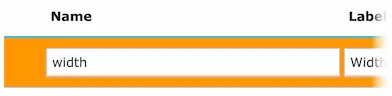
# Name
The field name is only used in the backoffice and it's used to reference the field in the
formulas.
This name should be lower case and should only contain alphanumerical characters in addition to the
underscore.
Here are some examples:
- width
- height
- unit_price
- option1
- option2
# Special naming conventions
# Underscore prefix
You can use the underscore prefix if you want to show the field in the product page but not in the customization summary.
Example:
_area
# Admin prefix
This prefix is useful if you want to display the field in the admin summary even though it's visibility is turned off.
Example:
admin_result
# Preview field
Used to sync the product image with the field selected image. Can be used with image lists.
Field name:
preview
# Label
This label will be displayed to the customers, it can be translated to all available languages
# Type
The module supports many field types, here's the full list
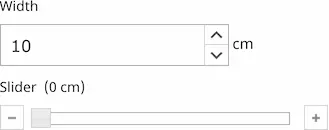
# Numeric Input
Displays a numeric field

You can access more settings by clicking the settings icon
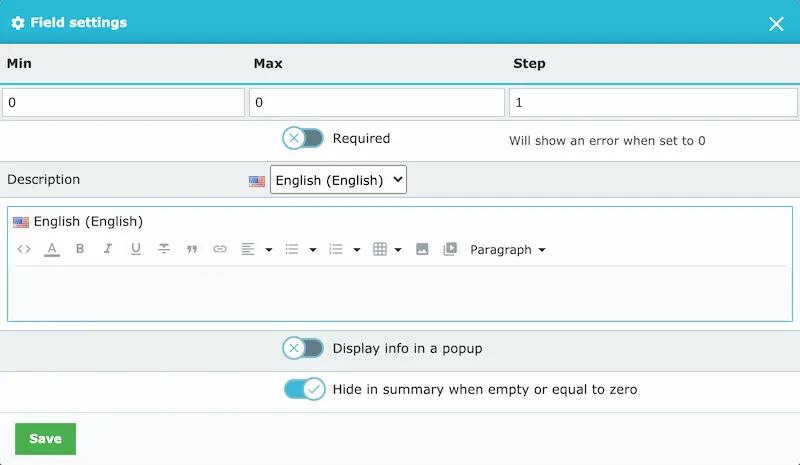
When both min and max are set to 0, the module will not validate them.
# Slider
Displays a slider (from the jQueryUI library)

The slider settings show these options

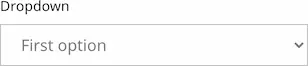
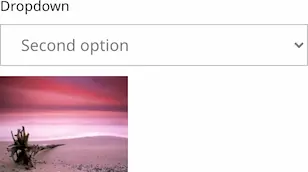
# Dropdown
Displays a dropdown list (a HTML select)
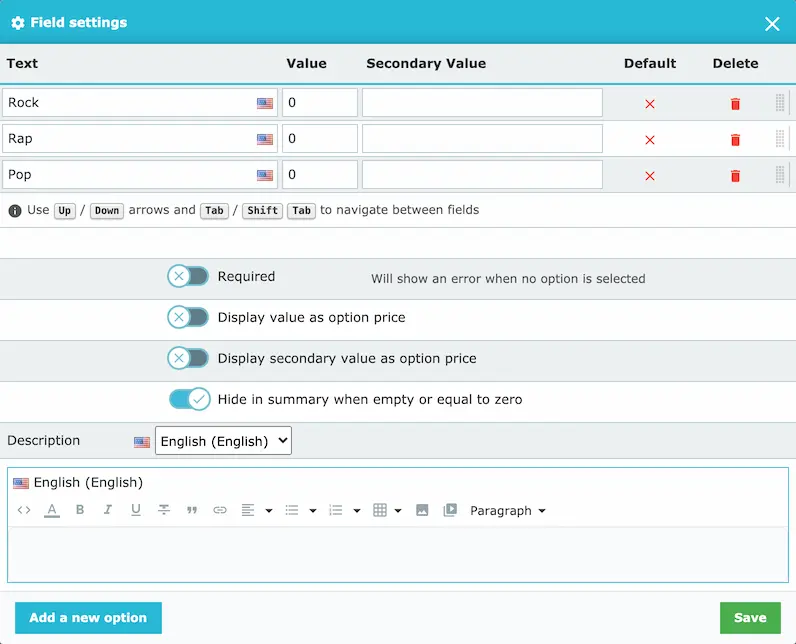
You can add dropdown options in the field settings

In most cases, the values and secondary values of the options are arbitrary.
The field value will be the value of the selected option, so you can use the field directly in the
formulas.
You can also assign a color or an image to each option if needed
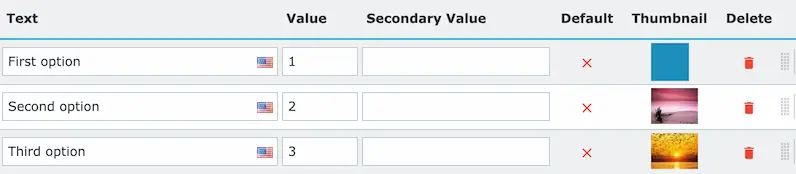
The module will then display the corresponding image or color when an image is selected
# Radio buttons
Display radio buttons

You can add radio option in the field settings
# Image list
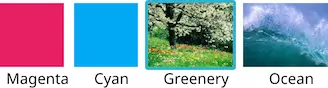
Displays a list of images or colors

You can configure the options in the field settings
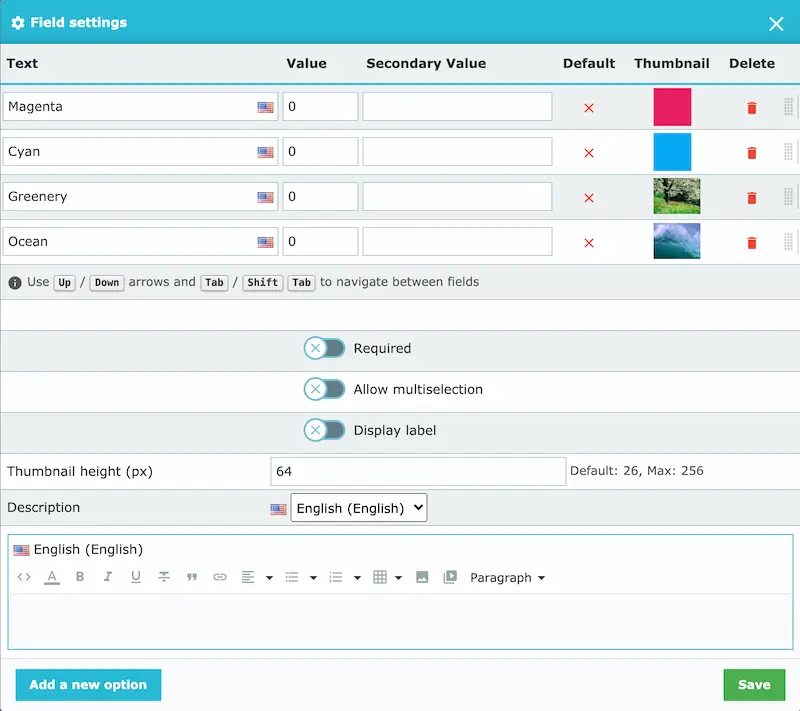
You can allow multi-selection, where the customer can pick more than one option You can also display the label of each option by enabling the "Display label" option
You can also change the height of the thumbnails in pixels
# Usage in conditions
If you want to use the image list in
the conditions with multi-selection enabled, you
can assign string values to the image list options, then use
the CONTAINS function in the conditions
formulas.
The module assembles the selected values into a single string and use a semicolon ; to join them,
so your condition has to look something like this:
CONTAINS("[image_list]", "apple;") → This means if the option with value = "apple" is selected
# Checkbox
Display a checkbox
You can configure the checkbox in the settings popup
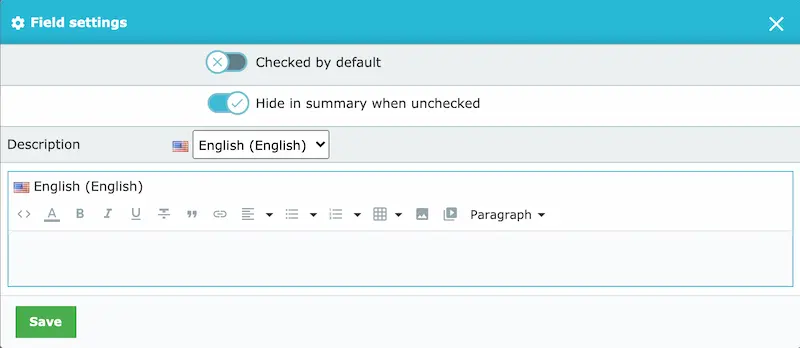
The value of the checkbox if either 0 or 1, so you can use its value like an on/off switch to add a conditional cost.
# Switch
Display a switch
You can configure the switch in the settings popup
The value of the switch if either 0 or 1, so you can use its value like an on/off switch to add a conditional cost.
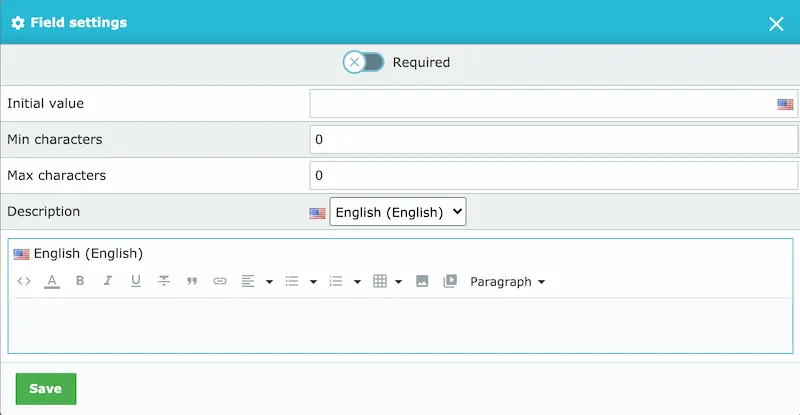
# Text
Displays a text field

You can configure the text field in the field settings

The text length will not be validated if both min and max are set to 0
# Text Area
Displays a text area
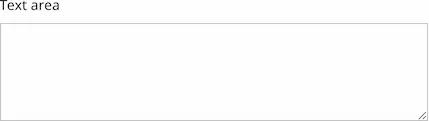
You can find more options in the field settings popup
The text length will not be validated if both min and max are set to 0
# Date
Display a date field
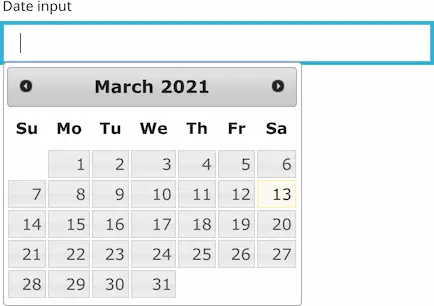
More settings are available in the field settings popup
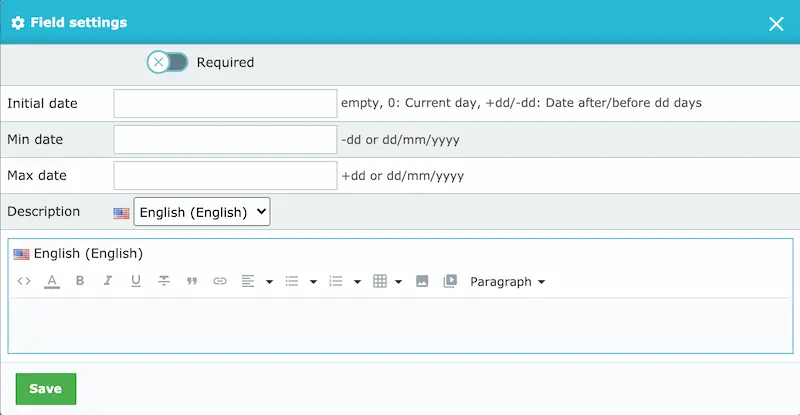
# Initial value
The possible values for the initial value are:
- empty
- 0 (will set the date to the current date)
- +dd/-dd (will set the date to X days before or after the current date) For example, you can set the initial date to +7 to set it to one week in the future
# Min / Max date
You can either set the min/max value to +dd or -dd or set them to a specific date following the format dd/mm/yyyy Examples:
- Min date: -10 (Minimum of 10 days before the current date)
- Max date: +30 (A maximum of one month in the future)
- Min date: 15/05/2021
# Image
Displays an image upload field

You can configure this field in the settings
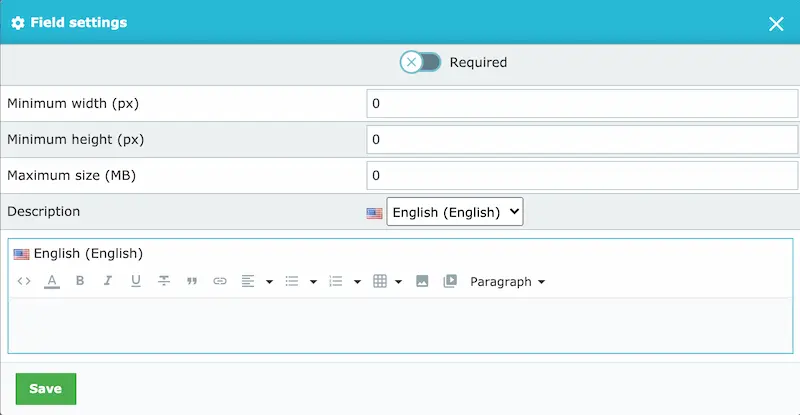
You can configure the minimum required size in pixels and the maximum file size in MB
When the user uploads an image, a preview will be displayed like this

# File
Displays a file upload field
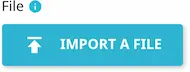
You can configure the field like this

The allowed extensions value if comma separated without spaces.
Example:
svg,png,zip
# Fixed Value
This field can be used if you'd like to declare a fixed value that is not supposed to change.
For example, if you'd like to store a conversion ratio between two units.
This field can be displayed to customers but it's not necessary in most cases.
# Price
You can use this field to store a price.
When this field is displayed to the customer, its value will be formatted using the current
currency.
# Dynamic Variable
You can use this field for any variable that is going to change either using the intervals or the
grid or any other method such as a PHP calculation file
In most case, you will not need to display this field to customers, so you can hide it.
If you choose to display it, then it will be displayed like this
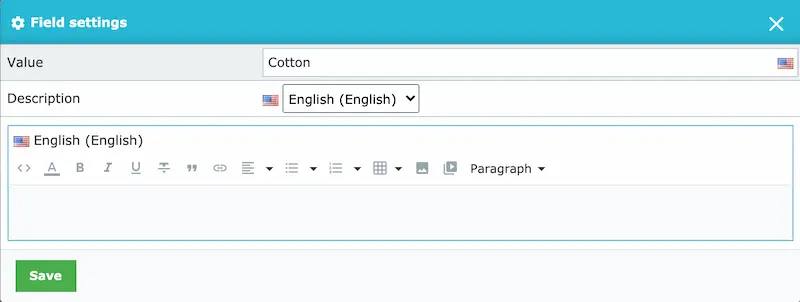
# Feature
This field can display any value, it's similar to product features displayed by PrestaShop
You can enter the feature value in the field settings. This value can be translated to all available languages.
TIP
You can reference fields in the description, this allows you to have a dynamic description.
Example: The area is [width] x [height] = [area]
Result: The area is 10 x 10 = 100
# Divider
Display a line separating fields
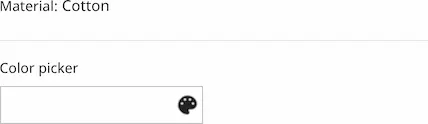
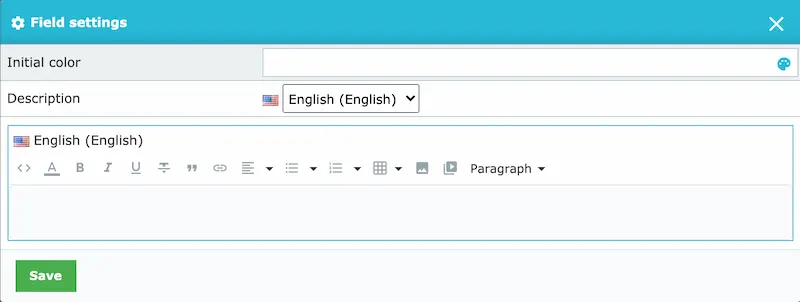
# Color picker
Displays a color picker field
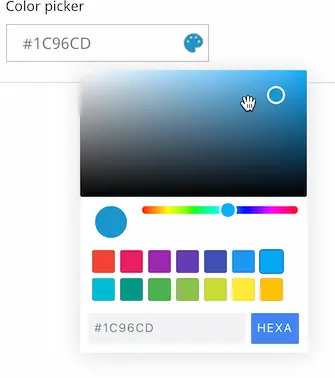
You can configure the initial color and the description in the field settings.
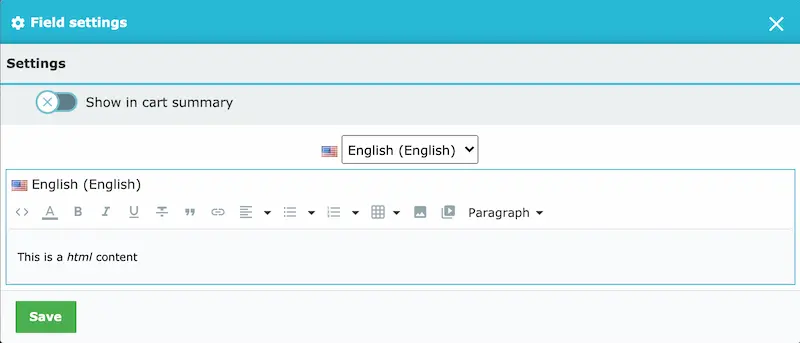
# HTML
Allows you to display any html content
You can configure the content in the field settings
WARNING
For security purposes, only paste html from trusted sources
TIP
You can reference fields in the description, this allows you to have a dynamic description.
Example: The area is [width] x [height] = [area]
Result: The area is 10 x 10 = 100
# Error message
This field allows you to implement a custom validation logic for your fields
Here's an example of an error message
You can control the visibility of this field using the conditions feature.
When an Error message field is displayed, the module will not allow adding to cart and will scroll to the first error that is displayed
# Value
This is the default and initial value of the field
# Unit
This is the field unit, it will be displayed in the product page like this
You can configure the unit in the main configuration page of the module.
# Options
Using this button, you can access the module settings
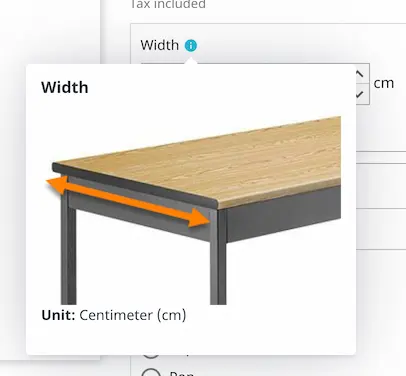
# Image
You can assign an image to any field of your choice
Click the icon to upload an image.
The image will be displayed in the field tooltip like this
# Actions
You can hide the field by clicking on the visibility icon
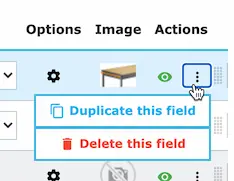
You can also delete the field or duplicate it
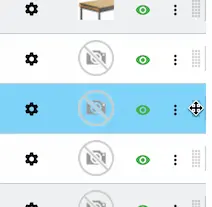
# Reordering the field
Using the sort handle, you can reorder the fields by dragging the desired field and re-positioning it.
# Favorite field
You can set a field as a favorite field if you want to use it in other products.

The field will be highlighted like this
Then in another product, you can load the field from the favorite fields list
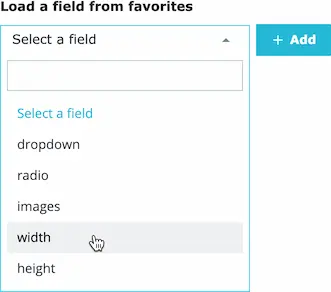
When you load a field from the favorite list, it will be copied into the current product.
You can find the list of favorite fields in the main configuration page
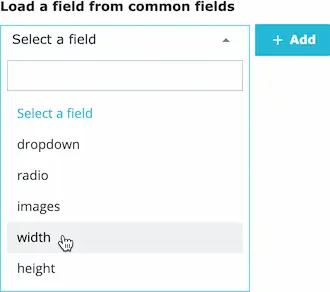
# Common field
If you want to use the same field in multiple products, then set it as a common field. That way, when you modify it in any product, it will also be modified in other products that use it.

The field will be highlighted like this

Then, you can link the field to other products from the common fields list
You can find the list of favorite fields in the main configuration page
TIP
The difference between a common field and a favorite field is that a common field is only one field that is used in multiple products so it's basically linked to in other products, that's why when you edit in any product, it's also changed in others. The favorite field is simply a copy of the original and is not linked to it.
← Settings Calculation →