# Fields
Product fields are rectangles that can contain design elements (texts or images)
You can enable the fields feature and add the various fields to the designer.
In this example, we will add two fields, one for text and one for an image.
# Adding fields
1️⃣ We start by adding the two fields by clicking the add
button


# Editing fields
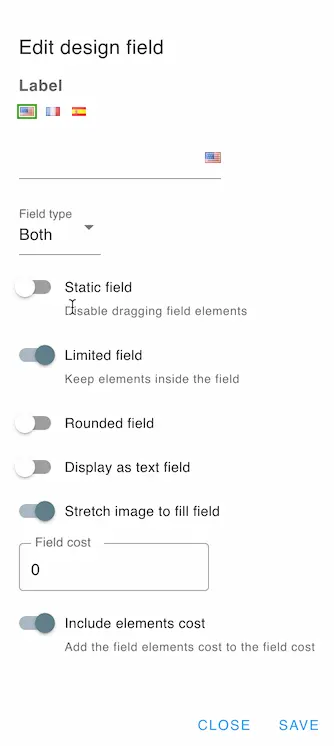
To edit a field, click the edit button
This modal will be displayed
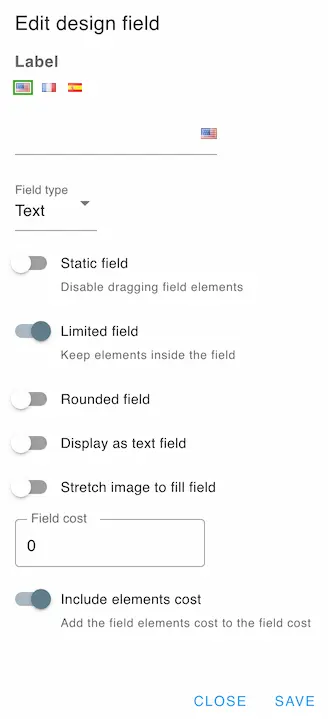
# Field type
2️⃣ Next we change the fields properties to make them only accept a certain type of item ( optional)
# Text field
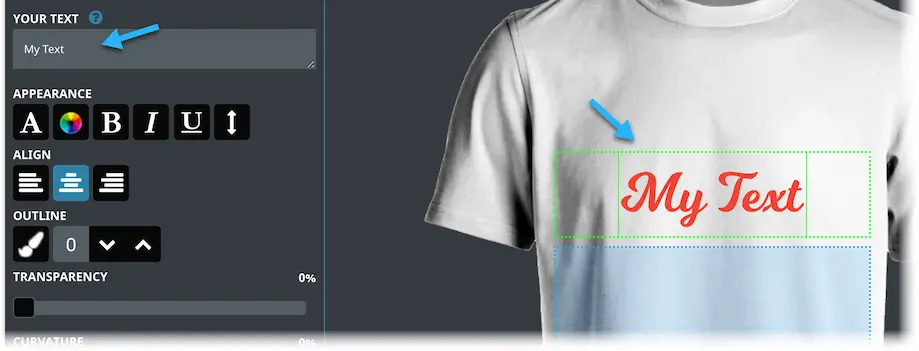
3️⃣ We enable the text field option on the first field and we set the label
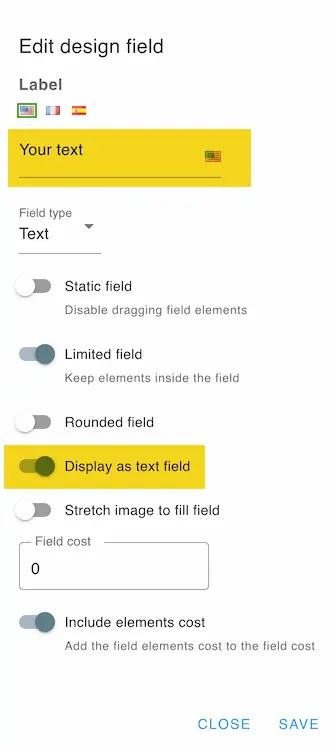
The label will be be displayed like this

The text field will be displayed like this
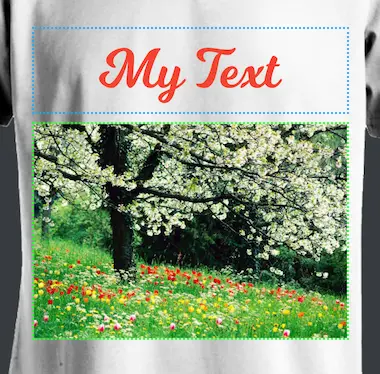
# Image field
4️⃣ We set the stretch image option on the image field. This will make any image we add to the field fill the whole space.
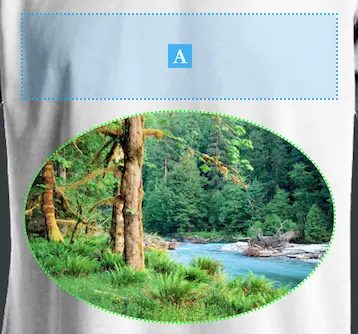
If we enable the rounded field option, we will have this display
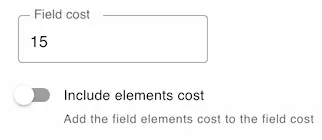
# Field cost
5️⃣ Next, we set the extra cost for each field and choose whether to include the items cost that are inside the field.
# Configuring zones
Zones are useful if you'd like to have a custom field shape. Start by importing a SVG file containing your fields outline.
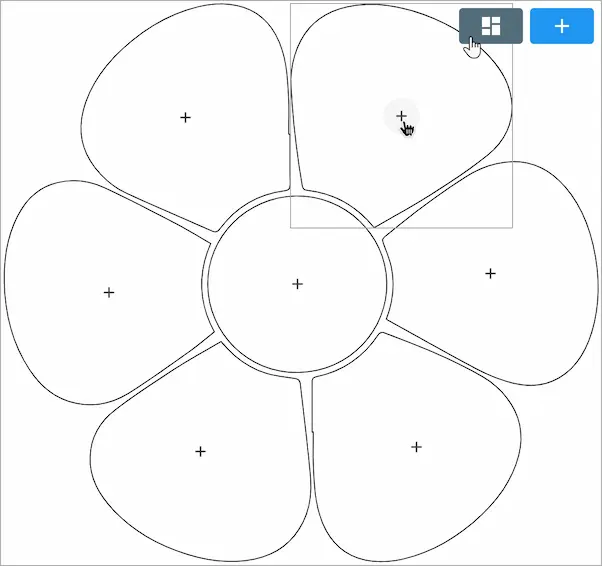
Here's a file sample
After importing the file, you can create a field for each path of your choosing.

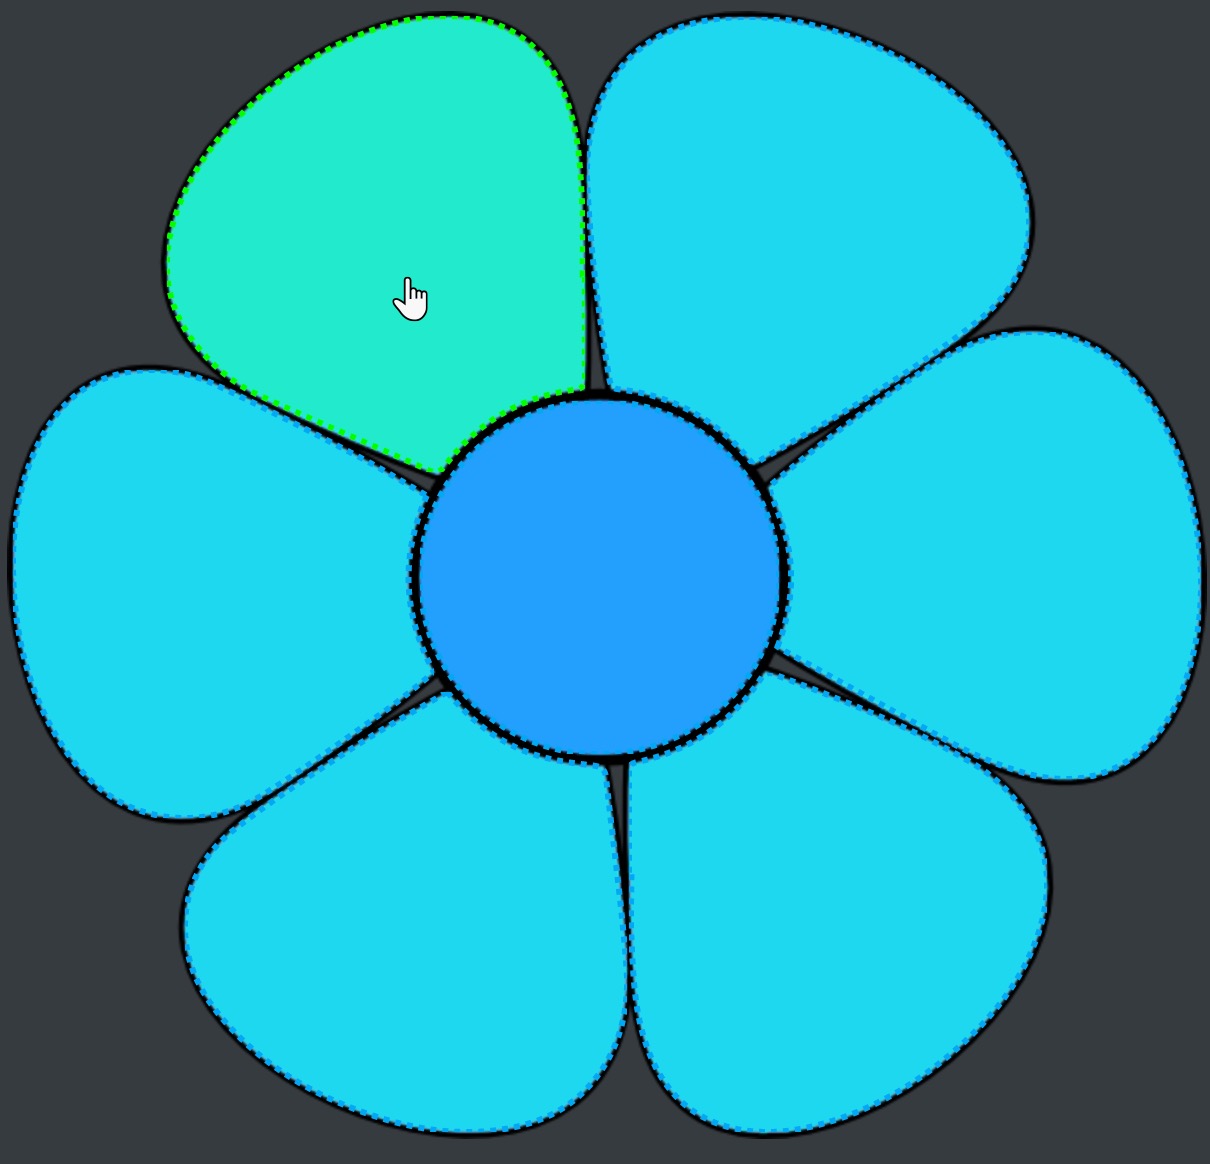
Then the zones that you created will be outlined and displayed to your customers.
TIP
By default, the field will stretch the image that is added inside it. You can change this in the field settings.
When the customer adds images, they will be cropped to the configured shape.

💿 Here's a video tutorial to see how to configure the svg path outlines in Illustrator
# Using templates
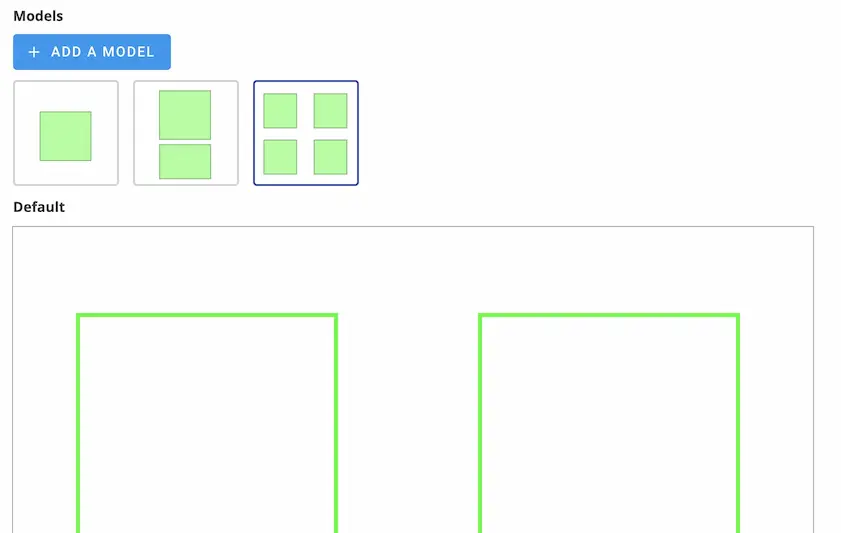
You can enable models which are field templates that your customer can pick from.
First, enable the models like this
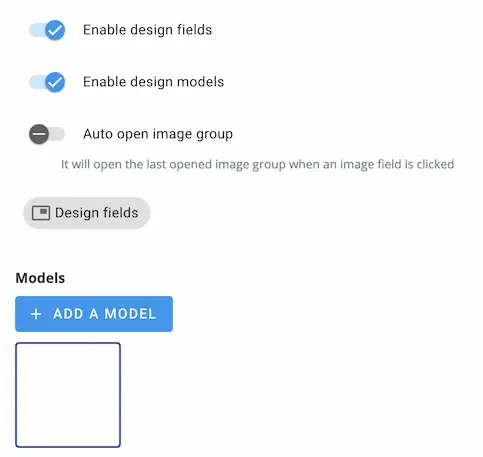
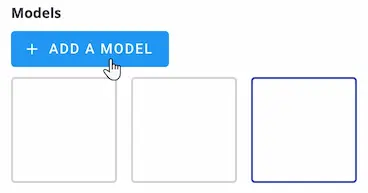
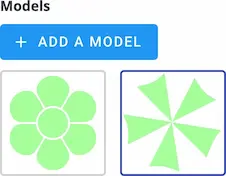
Then add any number of models by the clicking the add button
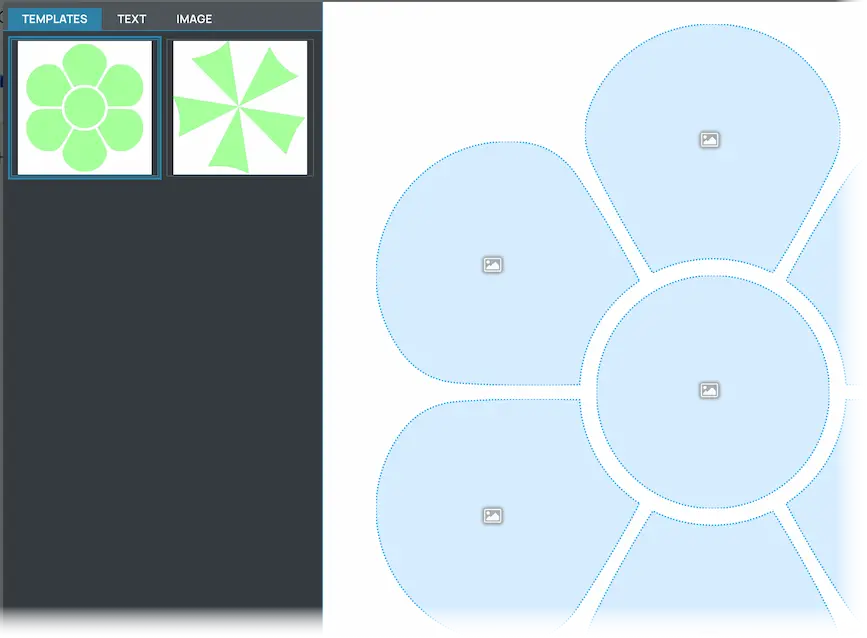
Then you can add fields to each model. The fields layout will be displayed directly.
You can even load different zones for each model
The models will be displayed in a separate tab in the customer interface
← Areas Design options →